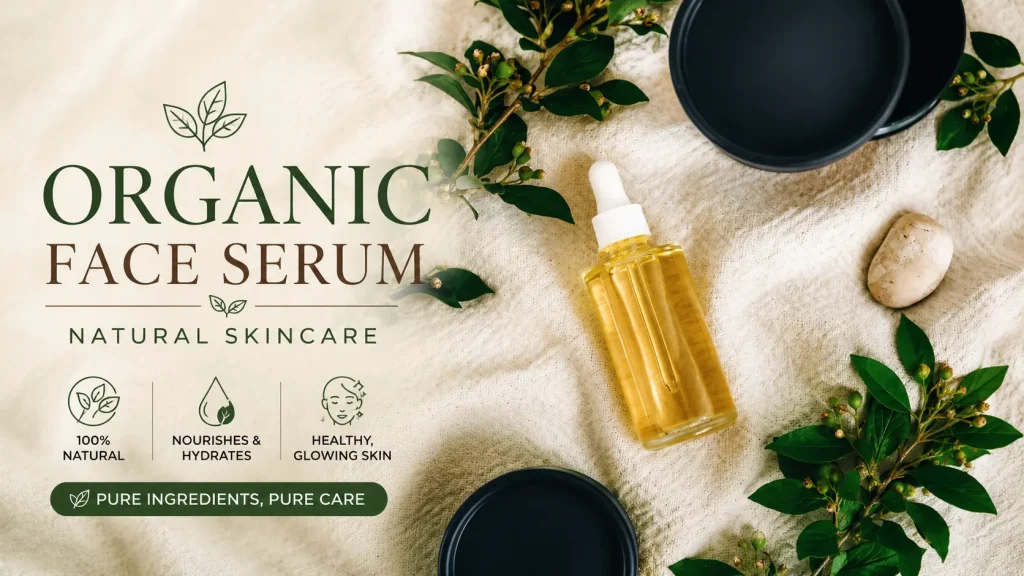
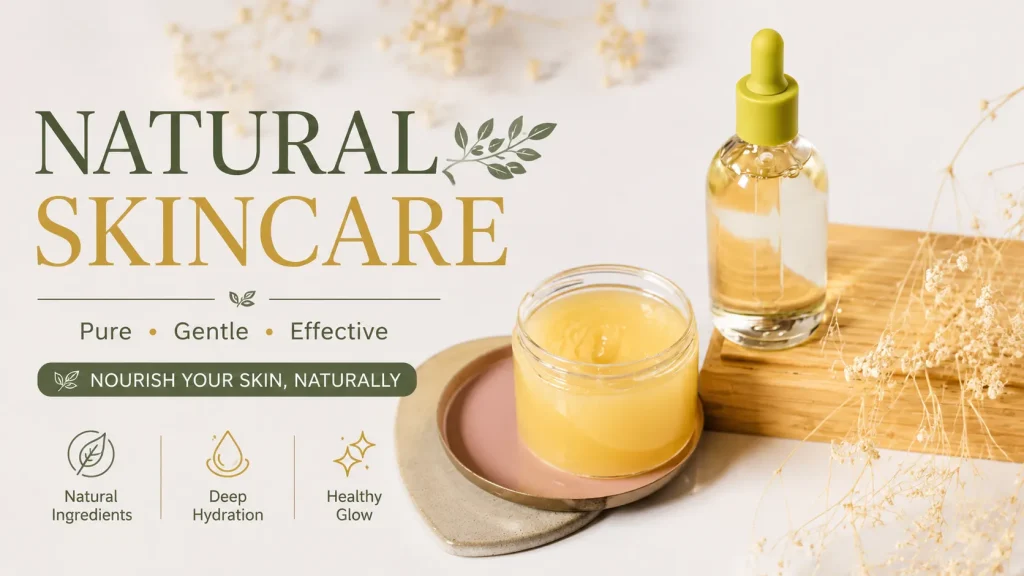
Making your own face cream at home is one of the simplest and most natural ways to care for your skin. It helps you avoid harsh chemicals. At the same time, it gives your skin fresh, gentle nourishment every day.
When you learn how to make face cream at home, you gain full control over what goes onto your skin. You can choose safe ingredients, adjust formulas for your skin type, and even save money in the long run.
The best part is flexibility. You can create rich creams for dry skin or lightweight blends for oily skin. There is no need to depend on store-bought products. Homemade skincare also feels more personal and satisfying because you know the ingredients.
In this guide, you will learn how to make face cream step-by-step. You will also discover the best ingredients, customization tips, and safe storage methods.
Why You Should Learn How to Make Face Cream at Home
Making face cream at home is not a trend. It comes with real benefits that improve both your skincare routine and lifestyle.
Complete Control Over Ingredients
You decide what goes inside your cream. This helps you avoid harsh chemicals, fragrances, and parabens. These fillers often irritate your skin.
Custom Care for Your Skin
Every skin type is different. Homemade creams allow you to adjust ingredients based on your needs:
• Dry skin → richer oils and butters
• Oily skin → lightweight oils
• Sensitive skin → gentle, fragrance-free blends
Fresh and Natural Skincare
Small batches keep homemade creams fresh and chemical-free. This often feels better on the skin compared to long-shelf commercial products.
Affordable Option
Most natural ingredients last for many batches. This makes DIY skincare more affordable over time.
A Relaxing Self-Care Habit
Many people enjoy the process itself. Mixing natural oils and creating something for your skin feels calming and rewarding.
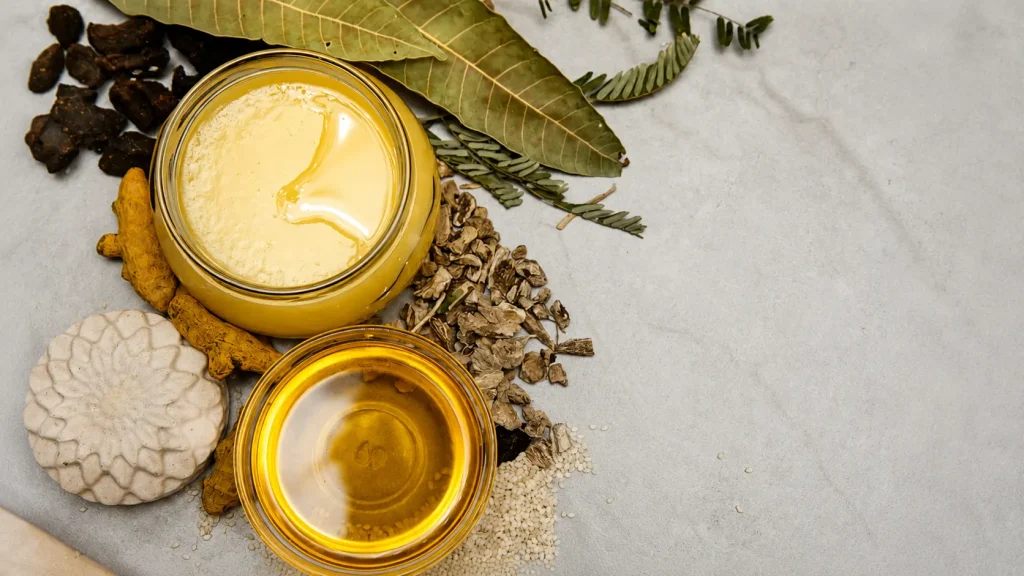
Understanding the Key Ingredients for Homemade Face Cream
Before learning the recipe, it’s important to understand what each ingredient does.
Carrier Oils (Moisture Base)
Carrier oils nourish and soften the skin.
• Jojoba oil → lightweight and suitable for all skin types
• Sweet almond oil → rich in vitamin E, great for dry skin
• Argan oil → nourishing for mature skin
• Grapeseed oil → very light and ideal for oily skin
Natural Butters (Deep Hydration)
Butters make your cream rich and creamy.
• Shea butter → moisturizing and healing
• Cocoa butter → thick and protective
• Mango butter → lightweight and smooth texture
Beeswax (Cream Stabilizer)
Beeswax helps bind ingredients together. It also creates a protective layer on the skin to lock in moisture.
Water or Hydrosols (Hydration Boost)
Water balances the oil content and keeps the cream light.
• Distilled water
• Rose water
• Lavender or chamomile hydrosols
Essential Oils (Optional Boost)
Use only a few drops for fragrance and skin benefits:
• Lavender → calming
• Tea tree → acne control
• Chamomile → soothing sensitive skin
Equipment You Need to Make Face Cream at Home
You do not need expensive tools. Simple kitchen items work well.
• Double boiler or heat-safe bowl
• Mixing bowls
• Whisk or hand mixer
• Measuring spoons
• Sterilized glass jars
• Spatula
Clean tools are very important for safe and long-lasting skincare.
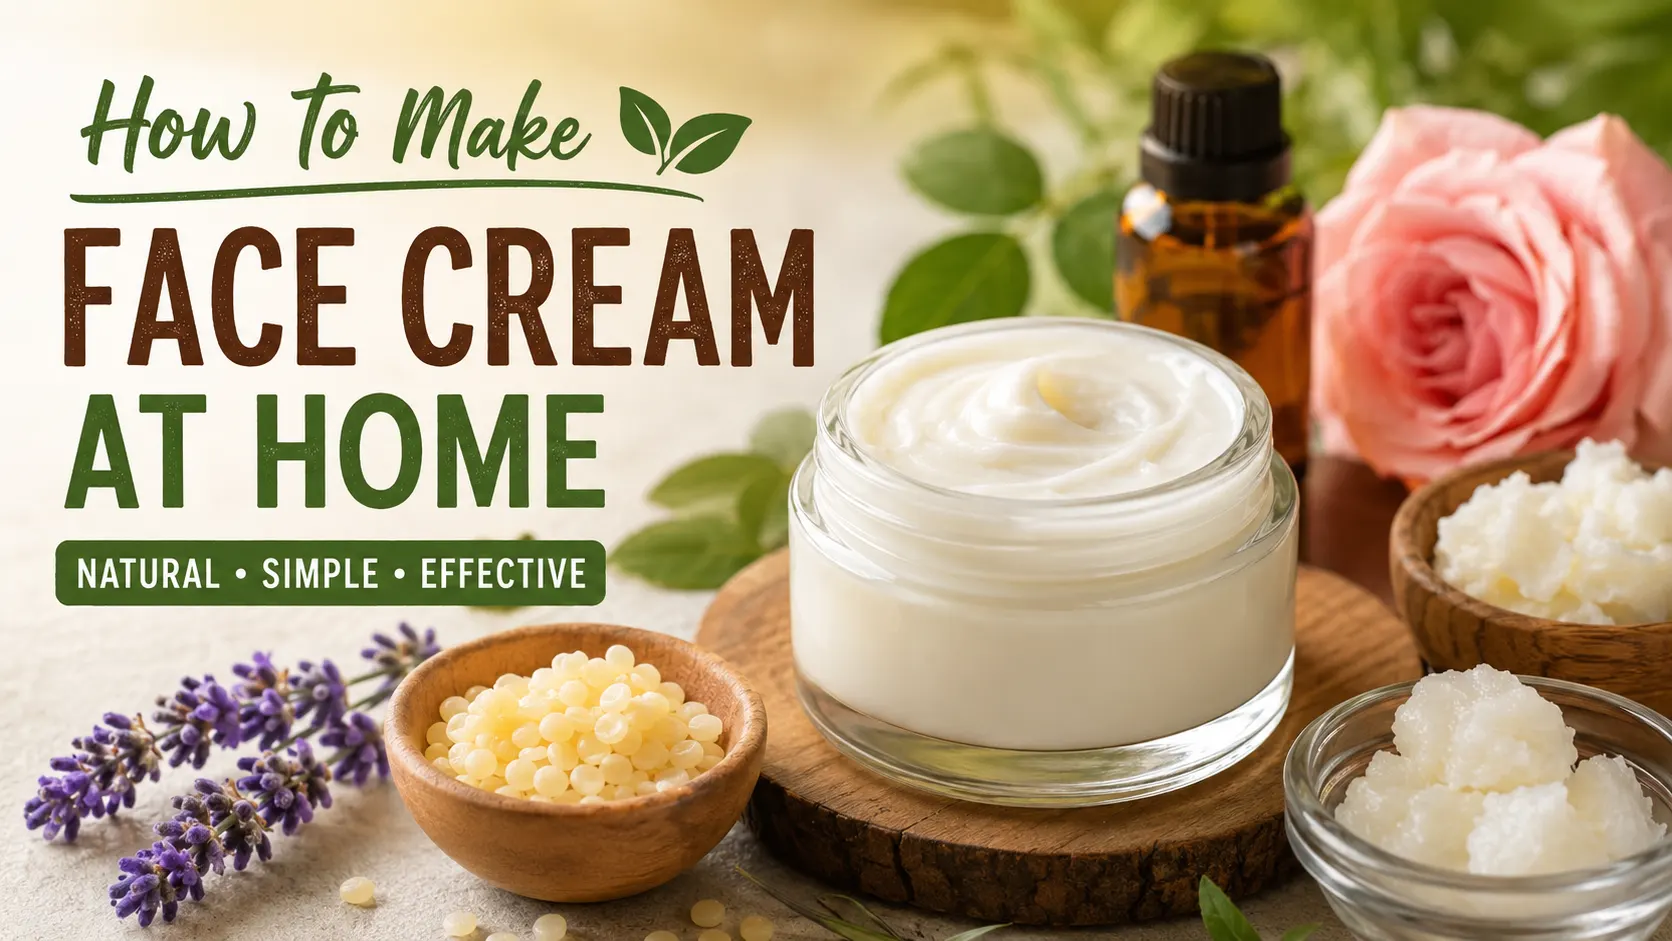
How to Make Face Cream at Home: Step-by-Step Recipe
Here is a simple recipe you can try.
Ingredients
• 1/4 cup almond oil or jojoba oil
• 2 tablespoons coconut oil
• 2 tablespoons beeswax
• 1/4 cup rose water or distilled water
• 10 drops essential oil (optional)
Instructions
Step 1: Melt the Oils
Combine almond oil, coconut oil, and beeswax in a double boiler. Heat until melted.
Step 2: Warm the Water
Warm the rose water. Do not boil it.
Step 3: Mix Both Phases
Pour warm water into the oil mixture while whisking. This helps form a smooth cream texture.
Step 4: Add Essential Oils
Let the mixture cool, then add essential oils.
Step 5: Store the Cream
Pour into a sterilized glass jar. Let it cool completely before closing the lid.
How to Customize Your Homemade Face Cream
Your skin changes with time, weather, and lifestyle. That’s why customization matters.
For Dry Skin
• Use shea butter or cocoa butter
• Add avocado or olive oil for deep hydration
For Oily Skin
• Use jojoba or grapeseed oil
• Add tea tree oil for acne control
For Sensitive Skin
• Avoid strong essential oils
• Use chamomile or calendula hydrosol
For Anti-Aging Care
• Add rosehip oil
• Include vitamin E oil
• Use frankincense essential oil
Tips for Making the Best Face Cream at Home
A few small habits can improve your results:
• Always melt ingredients using low heat
• Whisk well to prevent separation
• Use clean, sterilized containers
• Make small batches first
• Label jars with date
• Store in a cool, dark place
• Add vitamin E oil for longer shelf life
How to Store Homemade Face Cream
Homemade creams do not contain strong preservatives, so storage is important.
• Use airtight glass jars only
• Store in a cool place or refrigerator
• Always use a clean spoon or spatula
• Avoid touching cream with fingers
Shelf Life
• Without preservatives: 2–3 weeks
• With vitamin E: up to 4–6 weeks
If smell or texture changes, stop using immediately.
Benefits of Making Your Own Face Cream at Home
Homemade skincare offers real benefits:
• No harsh chemicals or artificial fragrance
• Fresh and natural ingredients
• Customizable formulas
• Affordable option
• Better understanding of your skincare
It also gives a sense of control and confidence over what you apply daily.
Common Mistakes to Avoid
Avoid these mistakes for better results:
• Overheating oils and butters
• Using dirty containers or tools
• Skipping patch tests
• Adding too much water
• Making large batches at once
• Ignoring shelf life limits
Small mistakes can affect both safety and quality.
Questions and Answers
- How long does homemade face cream last?
Homemade face cream usually lasts 2–3 weeks without preservatives. Storing it in the refrigerator can help extend freshness. Always check smell and texture before use. - Can I use any oil for face cream?
Not all oils suit every skin type. Choose oils based on your skin needs to avoid breakouts or irritation. For example, jojoba oil suits oily skin while almond oil suits dry skin. - Do I need preservatives in homemade cream?
Preservatives are optional for small batches. Natural options like vitamin E oil can help extend shelf life. However, proper storage is still important. - How often should I use homemade face cream?
You can use it once or twice daily depending on your skin type and climate. Apply after cleansing for best results. - Can homemade face cream cause skin reactions?
Yes, if your skin is sensitive to certain ingredients. Always do a patch test before full application to avoid irritation.
Conclusion
Learning how to make face cream at home is a simple but powerful step toward healthier skincare. It helps you avoid unnecessary chemicals while giving your skin fresh, natural nourishment.
The best part is that you can customize everything based on your skin type and needs. With a few natural ingredients, you can create your own cream. It will feel gentle and effective.
Start with a simple recipe and observe how your skin reacts. Then, experiment with different natural oils and butters. Over time, you will build a skincare routine that works for you.