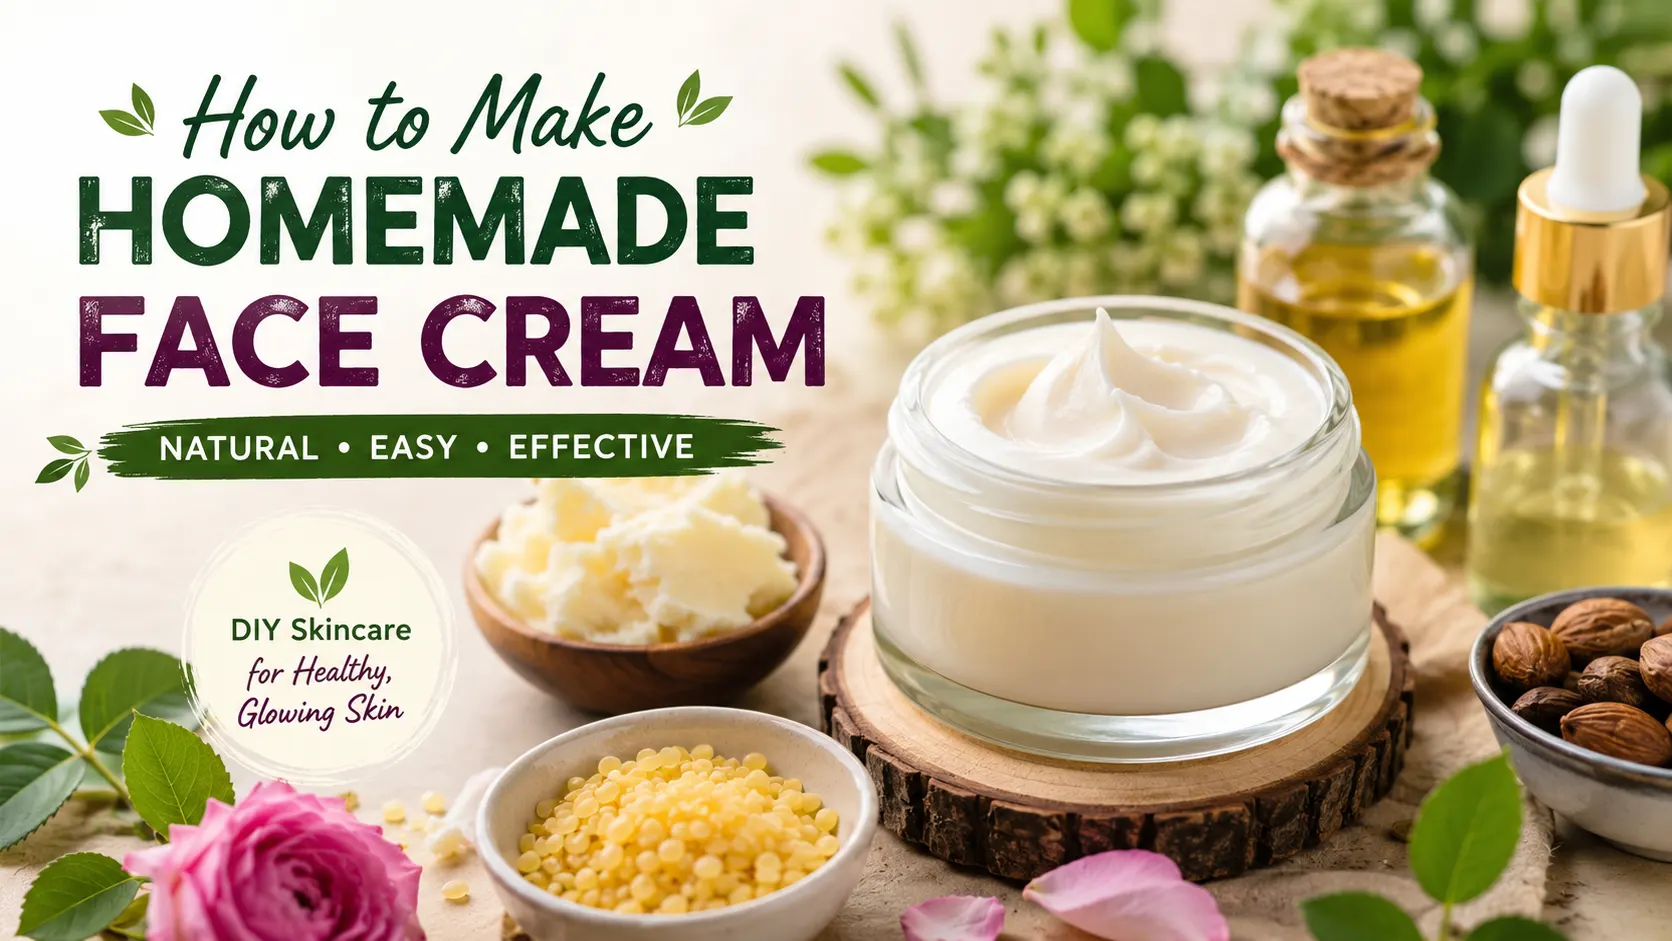
Introduction
Learning how to make homemade face cream is one of the simplest and most natural ways to care for your skin at home. You do not need expensive products or complicated routines. With a few natural ingredients, you can create a gentle cream that supports your skin every day.
Homemade face cream gives you full control over what you apply to your skin. You can avoid harsh chemicals and reduce artificial fragrances. Plus, you can choose ingredients that suit your skin type.
The best part is flexibility. You can make rich creams for dry skin or light, fast-absorbing blends for oily skin. It all depends on your needs.
In this guide, you will learn step-by-step methods and key ingredients. You will also find pros and cons, storage tips, and practical safety advice.
Why People Want to Learn How to Make Homemade Face Cream
More people now prefer natural skincare at home because it feels safer and more personal.
Full control over ingredients
You decide what goes into your cream. This helps you avoid harsh chemicals and synthetic fragrances. It also eliminates unnecessary fillers that irritate the skin.
Fresh and natural skincare
You make homemade creams in small batches. This keeps them fresh and gentle compared to long-shelf commercial products.
Easy customization for all skin types
Every skin type has different needs:
- Dry skin → rich and nourishing oils
- Oily skin → lightweight and non-greasy oils
- Sensitive skin → gentle, fragrance-free blends
Affordable option
You can use most natural ingredients for many batches. Over time, this makes homemade skincare more affordable.
Relaxing self-care routine
Many people enjoy the process of making their own cream. It feels calming, creative, and rewarding.
Basic Ingredients for Homemade Face Cream
First, understand the key ingredients. Then, you can learn how to make homemade face cream.
Carrier oils (skin nourishment base)
Carrier oils help moisturize and soften the skin.
- Jojoba oil → lightweight and suitable for all skin types
- Almond oil → rich in vitamin E and ideal for dry skin
- Grapeseed oil → light and good for oily skin
- Olive oil → nourishing for dry skin
Natural butters (deep hydration)
Butters make the cream thick and rich.
- Shea butter → moisturizing and soothing
- Cocoa butter → protective and firm texture
- Mango butter → lightweight and smooth feel
Beeswax (natural stabilizer)
Beeswax helps hold the ingredients together. It also creates a protective layer that locks in moisture.
Water or hydrosols (hydration balance)
Water keeps the cream light and hydrating.
- Distilled water
- Rose water
- Chamomile water
Essential oils (optional)
Use only a few drops for fragrance and skin benefits:
- Lavender → calming and soothing
- Tea tree → helps acne-prone skin
- Rose oil → improves skin glow
Tools You Need to Make Homemade Face Cream
You do not need expensive tools. Simple kitchen items are enough.
- Double boiler or heat-safe bowl
- Mixing bowl
- Whisk or hand blender
- Measuring spoons
- Clean glass jars
- Spatula
Always use clean tools to avoid contamination and spoilage.
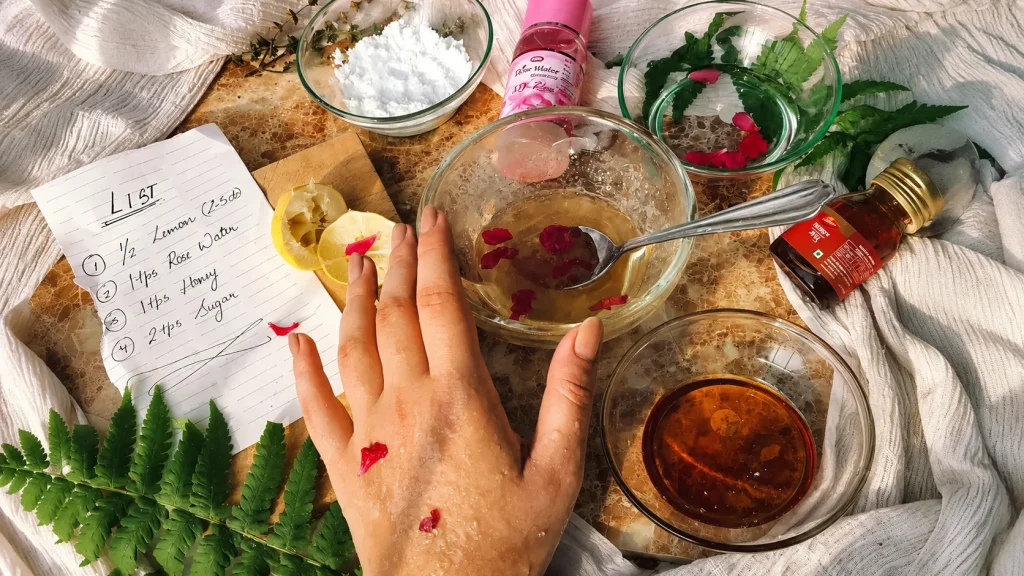
How to Make Homemade Face Cream (Step-by-Step Guide)
Here is a simple recipe for beginners.
Ingredients
- 1/4 cup almond oil or jojoba oil
- 2 tablespoons shea butter
- 1 tablespoon beeswax
- 1/4 cup rose water
- 5–10 drops essential oil (optional)
Step 1: Melt the oils and butter
Add shea butter, beeswax, and carrier oil to a double boiler. Heat until everything melts.
Use low heat to protect the nutrients.
Step 2: Warm the water phase
Warm the rose water. Do not boil it.
Step 3: Combine both phases
Pour the warm water into the oil mixture while whisking. This helps create a smooth cream texture.
Take your time to avoid separation.
Step 4: Add essential oils
Once the mixture cools, add essential oils. Then mix.
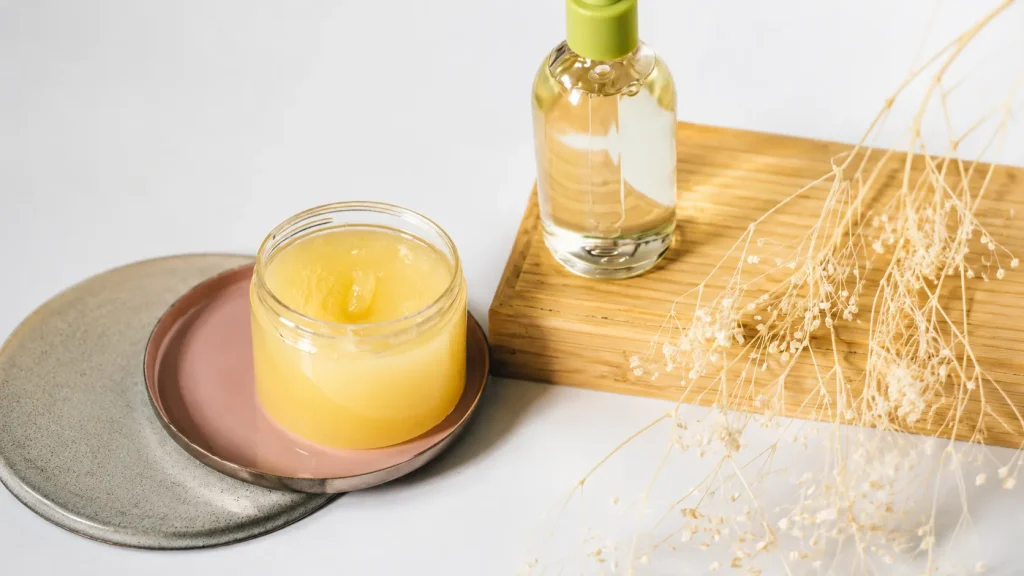
Step 5: Store the cream
Pour the cream into a sterilized glass jar. Let it cool completely before sealing.
Store in a cool place.
How to Make Homemade Face Cream (Simple Beginner Version)
If you want an easier option, try this quick recipe.
Ingredients
- 1 tablespoon coconut oil
- 1 tablespoon aloe vera gel
- 1 teaspoon vitamin E oil
Method
- Mix all ingredients in a clean bowl
- Whisk until smooth
- Store in a small jar
This version feels light and works well for daily use.
Pros of Homemade Face Cream
Homemade skincare has many benefits.
Chemical-free skincare
You avoid artificial preservatives and harsh chemicals.
Fresh ingredients
Every batch feels clean and natural.
Custom formulas
You can adjust ingredients based on your skin needs.
Cost-effective
You can use one set of ingredients for many batches.
Better skin awareness
You understand what works best for your skin.
Cons of Homemade Face Cream
There are also a few limitations.
Short shelf life
Without preservatives, it does not last long.
Requires hygiene
Dirty tools can spoil the cream.
No fixed consistency
Batches may vary in feel.
Trial and error needed
You may need time to find your perfect recipe.
Tips for Better Results
Small habits can improve your results a lot.
- Always use low heat
- Whisk well to avoid separation
- Make small batches first
- Store in glass jars only
- Keep away from sunlight
- Use clean hands or tools
- Add vitamin E for longer freshness
How to Store Homemade Face Cream
Proper storage is very important.
Best storage practices
- Use airtight glass containers
- Store in a cool or dark place
- Refrigerate if possible
Shelf life
- Without preservatives → 2–3 weeks
- With vitamin E → up to 4–6 weeks
If the smell or texture changes, stop using it immediately.
Who Should Use Homemade Face Cream
Homemade face cream is suitable for:
- Dry skin users
- Sensitive skin users
- Natural skincare lovers
- Beginners in DIY beauty
- People avoiding chemicals
Always do a patch test before full use.
Safety Tips You Should Not Ignore
Even natural products can cause reactions.
- Always do a patch test
- Do not use too many essential oils
- Maintain proper hygiene
- Avoid long storage time
- Use clean applicators only
Safety is more important than the recipe itself.
FAQ: How to Make Homemade Face Cream
1. How long does homemade face cream last?
Homemade face cream usually lasts 2–3 weeks without preservatives. If stored in the refrigerator, it may last longer. Always check smell, color, and texture before using.
2. Can I use homemade face cream daily?
Yes, you can use it once or twice daily, depending on your skin type. Apply it after cleansing your face for better absorption and smoother skin results.
3. Is homemade face cream safe for sensitive skin?
Yes, but you must choose gentle ingredients. Avoid strong essential oils and always do a patch test before applying it to your full face.
4. What is the best oil for homemade face cream?
Jojoba oil is one of the best options because it suits most skin types. Almond oil works well for dry skin, while grapeseed oil is better for oily skin.
5. Can homemade face cream replace store-bought creams?
Yes, but it depends on your needs. Homemade creams are great for natural skincare. However, they need proper storage and do not contain long-term preservatives.
Conclusion
Making homemade face cream is a simple, powerful step toward natural skincare. It helps you avoid harsh chemicals. Plus, it gives your skin fresh and gentle nourishment.
The best part is customization. You can adjust every ingredient based on your skin type and needs.
Start with a simple recipe, observe how your skin reacts, and improve it over time. With practice, build a natural, safe, and effective skincare routine.
