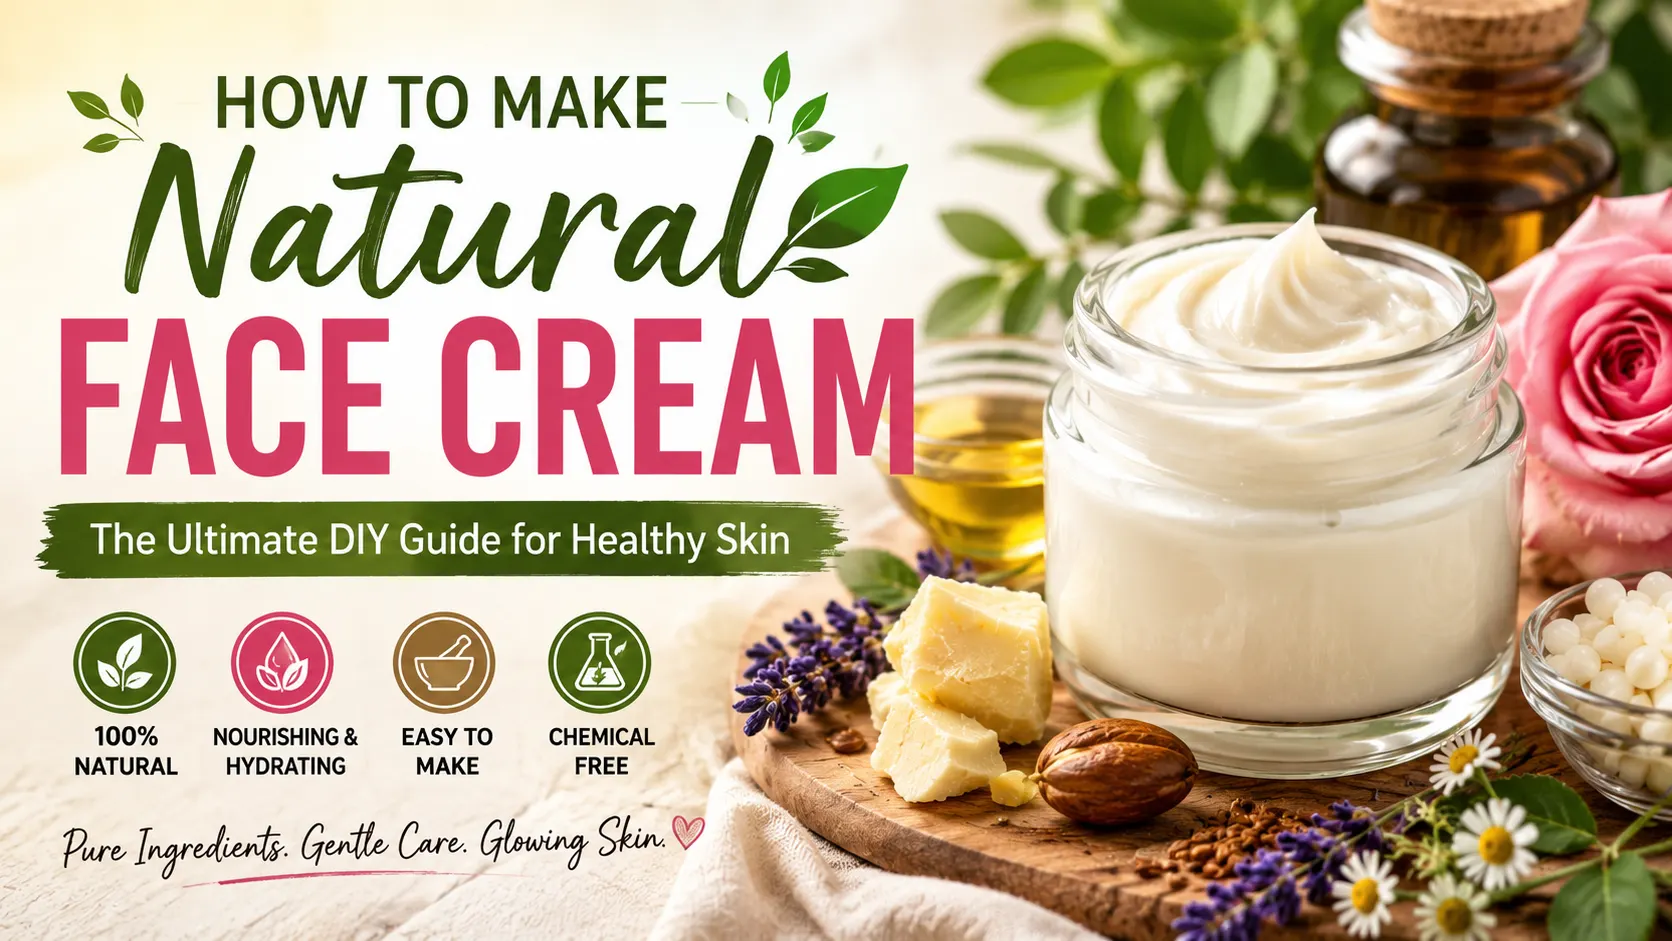
Introduction
Making your own skincare is simple, rewarding, and natural. Learning to make natural face cream gives you control over your skincare. You avoid harsh chemicals and use fresh ingredients. You create products that fit your needs.
This guide shows you how to craft nourishing, natural face cream at home. This article covers everything you need to start. Learn to choose the right ingredients and tools. I will show you step-by-step recipes and essential safety tips. Whether you are a beginner or a pro, this guide
will help you get radiant, healthy skin.
Why Make Your Own Natural Face Cream?
Switching to homemade natural face cream offers many benefits:
- You have full control over your ingredients. You know exactly what goes on your skin without any hidden chemicals or fillers.
- Customization: You can tailor your cream to your skin type and concerns.
- Freshness: You make your creams in small batches, avoiding synthetic preservatives.
- Cost-effective: Making your own cream often costs less than buying natural products.
- Sustainability: You cut down on waste and pick natural ingredients.
- Creative and satisfying: Crafting your own skincare is a rewarding, mindful activity.
Making my own creams improved my skin’s tone and texture. It also gives me peace of mind about what I use daily.
The Pros and Cons of Making Natural Face Cream at Home
Before you start, it’s helpful to weigh the advantages and challenges.
Pros
- Total ingredient transparency: No surprises in your formula.
- Customization: Adjust oils, butters, and additives per your skin’s needs.
- Freshness and potency: You know your cream is fresh and uses active ingredients.
- Cost savings: Quality ingredients for less than commercial products.
- You reduce plastic waste and avoid synthetic chemicals.
- Fun and empowering: Enjoy the creative process tailored to you.
Cons
- Short shelf life: Without strong preservatives, creams last 2–4 weeks.
- Time and effort: Making cream takes some practice and patience.
- Ingredient sourcing: Finding quality natural ingredients can be tricky or costly.
- Possible allergy risk: Essential oils or new ingredients may cause irritation.
- Texture and consistency: Homemade cream may feel different than commercial products.
This knowledge helps you prepare and make informed decisions.
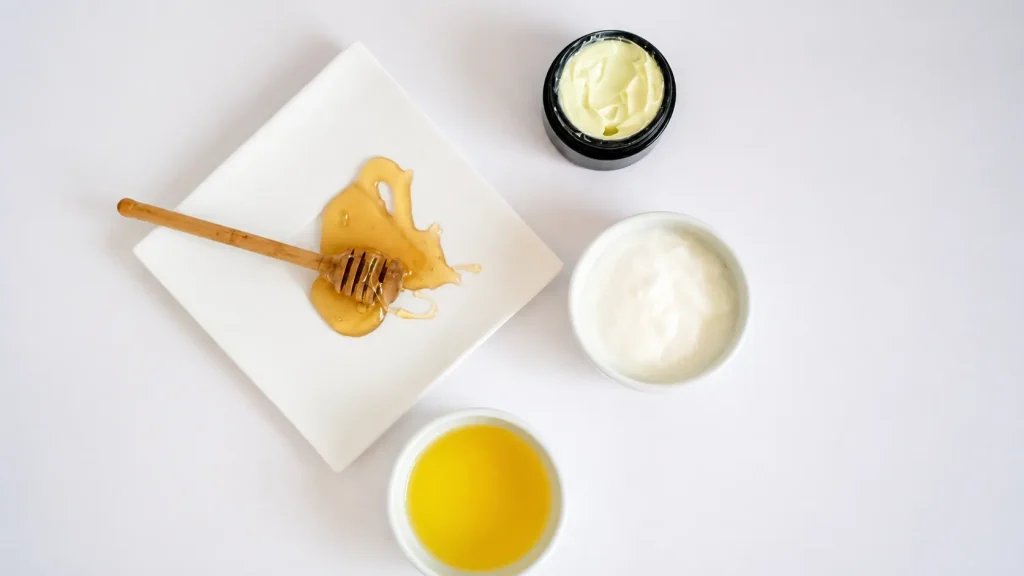
Key Ingredients for Natural Face Cream
Understanding your ingredients makes the process easier and more rewarding.
Carrier Oils: The Moisturizing Base
Carrier oils nourish your skin with essential vitamins and fatty acids.
- Jojoba oil: Mimics skin’s natural sebum, great for oily and sensitive skin.
- Sweet almond oil: Gentle and hydrating for dry or sensitive skin.
- Argan oil: Rich in antioxidants, ideal for mature or dry skin.
- Grapeseed oil: A lightweight, fast-absorbing oil ideal for oily skin.
Butters: Creamy and Nourishing
Butters provide richness and help lock moisture in your skin.
- Shea butter: Rich, moisturizing, and soothing; it supports skin healing.
- Cocoa butter: Thick and protective, excellent for very dry skin.
- Mango butter: Lightweight, absorbs well, and calms skin.
Beeswax: Natural Thickener and Protectant
Beeswax binds your cream ingredients and forms a protective barrier. It also locks in moisture to keep your skin hydrated.
Water or Hydrosols: Hydrating Balance
Water adds essential hydration and balances the oils and butters.
- Distilled water: Pure and safe for skincare.
- Rose water: Soothing with a subtle floral scent.
- Lavender or chamomile hydrosol: Great for calming sensitive or irritated skin.
Essential Oils: Optional, But Effective
Essential oils provide scent and skin benefits, but need careful handling.
- Lavender: Calms and soothes skin.
- Tea tree: Antibacterial, good for acne-prone skin.
- Chamomile: Gentle and anti-inflammatory.
Equipment Needed for Making Natural Face Cream
You don’t need fancy tools to make your own cream, but a few basics help:
- Double boiler or heatproof bowl + saucepan: Melt the oils and wax using gentle heat.
- Mixing bowls: For combining ingredients.
- Whisk or hand blender: To blend water and oils into a smooth cream.
- Measuring cups and spoons: For accuracy.
- Glass jars or containers: Store your cream in a secure container.
- Spatula and funnel: For easy transfer into jars.
How to Make Natural Face Cream: Step-by-Step Recipe
Here is a simple recipe for a nourishing face cream, perfect for beginners.
Ingredients:
- 1/4 cup jojoba or sweet almond oil
- 2 tablespoons shea butter
- 2 tablespoons beeswax pellets
- 1/4 cup distilled water or rose water
- 10 drops of essential oil (optional)
Instructions:
Step 1: Melt the Oils and Butter
Melt the jojoba oil, shea butter, and beeswax in a double boiler. Stir the mixture until smooth.
Step 2: Warm the Water
Heat the distilled or rose water until lukewarm (not boiling).
Step 3: Combine Both Phases
Combine the warm water and melted oils. Whisk until the mixture forms an emulsion.
Step 4: Add Essential Oils
Let the mixture cool, then stir in your chosen essential oils.
Step 5: Cool and Store
Pour the cream into sterilized jars. Let it cool completely before sealing.
How to Customize Your Natural Face Cream
Your skin changes with seasons, age, and environment. Customize your cream to suit your skin needs.
Tips For Dry Skin:
- Use heavier oils like avocado or olive oil.
- Increase shea or cocoa butter for deeper hydration.
If you have Oily or Acne-Prone Skin:
- Use light oils like grapeseed or jojoba.
- Add tea tree essential oil to help combat acne.
For Sensitive Skin:
- Avoid strong essential oils.
- Use calming ingredients like chamomile or calendula hydrosol.
For Anti-Aging:
- Add vitamin E oil or rosehip seed oil for skin repair and elasticity.
- Include frankincense essential oil for rejuvenation.
Tips for Making the Best Natural Face Cream at Home
- Use a double boiler or indirect heat to protect delicate oils and butters.
- Whisk the water and oil mixture well to create a smooth, stable emulsion.
- Work in a clean environment and sterilize jars and utensils to avoid contamination.
- Label jars with the date to keep track of freshness.
- Store cream in a cool, dark place or refrigerator to prolong shelf life.
- Make small batches to test your formula before making larger amounts.
- Add natural antioxidants like vitamin E to extend shelf life and protect ingredients.
How to Store Your Natural Face Cream
Since homemade creams lack strong preservatives, storage is crucial:
- Use sterile, airtight glass jars to prevent contamination.
- Keep creams in a cool, dark place or refrigerate.
- Always use a clean spatula or spoon to scoop cream out.
- Without preservatives, cream lasts about 2–3 weeks.
- Vitamin E or rosemary extract can extend shelf life to 4–6 weeks.
Common Mistakes to Avoid When Making Natural Face Cream
Avoid these common pitfalls:
- Overheated oils and butters can damage nutrients.
- Using unclean containers or tools increases the risk of bacteria.
- Skipping patch tests and risking irritation.
- Adding too much water can cause separation or spoilage.
- Expecting commercial-like texture; homemade creams may feel different, but still work well.
Benefits of Making Your Own Natural Face Cream
Making your natural face cream offers many advantages:
- You avoid harmful chemicals and irritants.
- You nourish your skin with pure, natural ingredients.
- You can adapt formulas as your skin needs change.
- You save money compared to buying natural creams.
- You enjoy the satisfaction of crafting personalized skincare.
Common Questions
1. How long does natural face cream last?
Natural face creams last 2–3 weeks without preservatives. Refrigeration helps extend freshness.
2. Can I use any oils for natural face cream?
Choose oils best suited for your skin type to avoid irritation or breakouts.
3. Do I need preservatives in natural face cream?
Natural preservatives like vitamin E extend shelf life. However, they are optional for small batches.
4. How often should I apply natural face cream?
Apply once or twice daily, depending on your skin’s needs and season.
5. Can natural face cream cause allergies?
Always perform a patch test before full application to check for any irritation.
Final Thoughts on How to Make Natural Face Cream
Making natural face cream at home is a rewarding way to care for your skin. Avoid harsh chemicals and tailor your cream to your skin. Enjoy fresh, custom skincare.
Start with this simple recipe. Experiment with different oils and butters to find what your skin loves. The process is as enjoyable as the results—glowing, healthy skin.
